 RyanPlugins
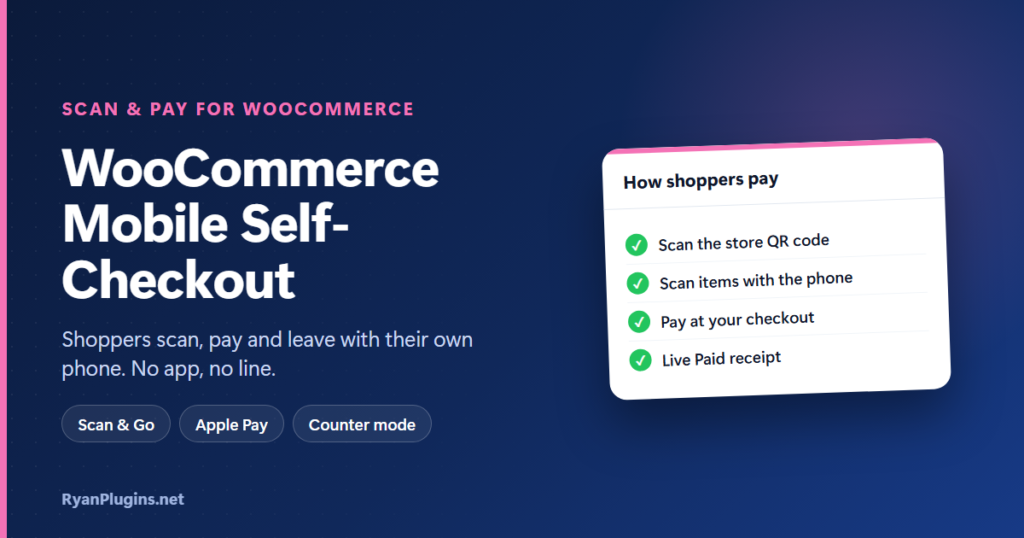
What if customers could check out with their own phone, without an app, a cashier or a line? WooCommerce mobile self-checkout makes that possible: the shopper scans a QR code, scans the items, pays and walks out with a receipt on screen. This walkthrough follows the whole flow in Scan & Pay for WooCommerce, from the first scan to the paid receipt, plus Counter mode, signs and labels, locations, payments and setup.
In the video: 0:17 how shoppers pay, 0:35 smart scanning, 1:03 Scan & Go checkout, 1:31 signs, labels and locations, 1:59 Counter mode, 2:24 payments and security, 2:44 setup, 3:08 recap.
What is mobile self-checkout?
Short answer: Mobile self-checkout lets shoppers in a physical store use their own phone as the till. They scan a QR code to open a scanner in the phone’s browser, scan each item’s barcode, and pay at your online checkout. With Scan & Pay, that checkout is your existing WooCommerce store, so there is no app to install, no extra hardware and no new payment provider.
How shoppers pay with their phone
- Scan the store QR code with the phone camera. A full-screen scanner opens in the browser, on iPhone and Android.
- Scan the items. Each scan flashes, vibrates and beeps, and the list keeps a running total.
- Check out and pay, then walk out with a live “Paid” receipt on screen.
Smart scanning that matches your products
The scanner reads EAN, UPC, Code 128 and Code 39 barcodes as well as QR codes. On Android it uses the barcode reader built into the browser where there is one, the Barcode Detection API; Safari has none, so on iPhone the page loads a bundled reader instead.
- Uses the barcodes you already have. A scan is matched to the product’s GTIN, UPC, EAN or ISBN field, or to its SKU.
- “Type a code” handles damaged or hard-to-read barcodes.
- Safe by default. Out-of-stock, private, draft and unpriced products are never added to the cart.
The Scan & Go checkout
Carts started from a scan get a checkout built for standing in a shop, while the rest of your online store checks out as usual:
- No shipping, because the items come off the shelf.
- A short form: name, email, country and ZIP code.
- Guest checkout, with no account needed.
- Apple Pay and Google Pay right under the scanned items, for one-tap payment, when your payment plugin offers them.
- A live “Paid” receipt with the order number and a running clock, so an old screenshot can be told apart from a real payment.
Signs, shelf labels and locations
Scan & Pay prints everything a shopper needs to start. The store-wide QR sign carries your logo, wording and colours. Shelf labels show each product’s name, price and QR code, for items without a barcode, on Letter or A4 paper or Avery 5163 / 8163 and L7163 sticker sheets, and every QR code can be downloaded as an SVG for a print shop. If you sell from more than one spot, each location gets its own QR code, and every order records where it was scanned.
Counter mode for staffed stores
Mobile self-checkout also works when someone is behind the counter. With an activated license, the cashier scans items with the camera or a USB barcode scanner and taps Charge. The customer scans the QR code on the cashier’s screen and pays on their own phone, and the screen shows “Paid” as soon as they have. Staff get a Cashier user role that sees only the counter, with no access to orders, customers or settings.
Payments and security
Scan & Pay never charges cards itself. Every payment goes through the WooCommerce payment gateway you already use, at its normal rates, and you choose which payment methods scanned carts are offered. A store with nobody at the till is an easy target for card testing, so turn on your gateway’s own protection, such as rate limits or a CAPTCHA at checkout.
What you need to set it up
- WordPress 6.2 or later, WooCommerce 9.2 or later and PHP 7.4 or later.
- HTTPS across the whole site, because phone browsers only allow the camera on secure pages.
- Barcode numbers or SKUs saved on your products. See WooCommerce’s guide to managing products for where those fields are.
- A payment method that suits self-service, such as card, Apple Pay or Google Pay.
Setup takes about 15 minutes. The step-by-step QR code self-checkout setup guide covers every setting, and the Scan & Pay overview explains which stores it suits.
Frequently asked questions
Do customers need to install an app?
No. The scanner runs in the phone’s browser, on iPhone and Android, straight from the store QR code.
Does mobile self-checkout work with my payment gateway?
Scan & Pay uses your normal WooCommerce checkout, so it works with the payment methods your store already offers. Apple Pay and Google Pay appear under the scanned items when your payment plugin supports them, as the accept.blue v2 Payment Gateway does.
What if a product has no barcode?
Print a shelf label for it. The label has the product’s name, price and a QR code that adds it to the cart.
Do I need a license?
Self-serve scanning and checkout work without one. Activating your license adds automatic updates and unlocks Counter mode.
How much does it cost?
Scan & Pay for WooCommerce is $39 USD, one-time. There is no monthly fee and no cut of your sales.
Get started
Scan & Pay is built and supported by RyanPlugins, so you talk directly to the developer.