If you build forms with Formidable Forms, you already know it can do almost anything: registrations, donations, applications, bookings. The one piece that’s traditionally meant bolting on a third-party checkout, a Stripe redirect, or a clunky iframe that doesn’t match your form’s design — until now.
The Formidable accept.blue Payment Gateway plugin connects accept.blue’s payment processing directly into Formidable Forms, so card data, subscriptions, installment plans, and refunds are all handled natively inside WordPress.
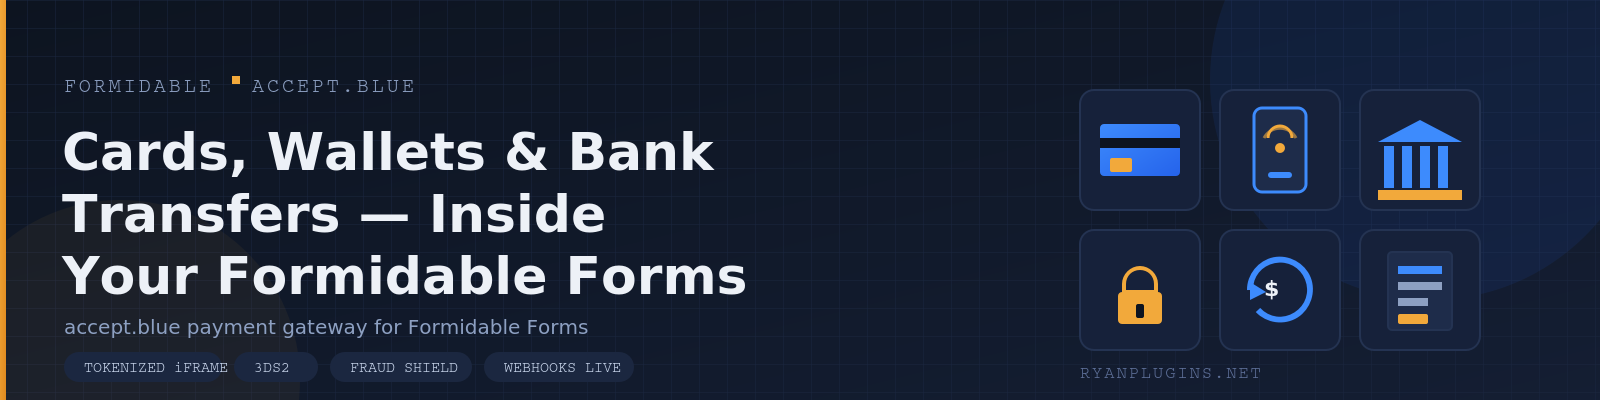
Card Data Never Touches Your Server
At the core of the plugin is a Hosted Tokenization iFrame. Cardholders enter their details inside an iframe hosted by accept.blue, embedded right in your Formidable form. Raw card numbers never pass through your server, which significantly cuts down your PCI DSS scope — one less compliance headache for site owners and developers alike.
On top of that, you get:
- One-time charges — fixed or dynamic amounts on form submission
- Authorize-only mode — place a hold on a card, then capture or adjust the capture later from the admin panel
- 3-D Secure 2 (3DS2) — optional EMV 3DS2 browser-based authentication per form action, adding liability-shift protection for card-not-present transactions
Digital Wallets and ACH/eCheck Support
Cards aren’t the only way people want to pay. The plugin also supports:
- Google Pay — let customers check out with a single tap using the payment method already saved on their device, no manual card entry required
- ACH/eCheck — accept direct bank transfers, often at a lower processing cost than card transactions, ideal for larger payments, tuition, or recurring dues where customers prefer paying straight from their bank account
Both payment methods run through the same Formidable form flow as card payments, so there’s no separate setup for your visitors — they simply pick how they want to pay.
Recurring Billing and Installment Plans, Built In
Not every form is a one-time payment. The plugin supports:
- Recurring subscriptions at daily, weekly, bi-weekly, monthly, bi-monthly, quarterly, bi-annual, or annual intervals — schedules are created in accept.blue and linked directly to the Formidable entry
- Installment plans that split a total into a fixed number of automatic payments — ideal for tuition, deposits, or membership payment plans
Full Control Over Refunds, Voids, and Captures
You don’t need to log into a separate payment dashboard to manage transactions. From the Formidable Forms payment detail page you can:
- Issue full or partial refunds
- Void an unsettled authorization before it captures
- Capture or adjust-capture a prior authorization at the original or an adjusted amount
A Real Admin Transactions Panel
The plugin adds a dedicated WordPress admin screen that lists every accept.blue transaction tied to your Formidable entries — filterable by date range, status, and form, with revenue summary stats at the top, one-click sync to pull the latest status from accept.blue, and CSV export for accounting and reconciliation.
Real-Time Updates via Webhooks
A signed REST API webhook endpoint listens for payment lifecycle events from accept.blue — charges, settlements, refunds, subscription events — and updates your WordPress transaction records automatically. Signature verification means only legitimate accept.blue payloads get processed.
Fraud Shield Included
Built-in fraud controls help you catch bad transactions before they become chargebacks:
- IP velocity limits
- Email velocity limits
- BIN block-lists
- Country block-lists
- Minimum/maximum amount thresholds
Built for Developers Too
If you’re customizing things further, the plugin ships with a dedicated debug log (toggle-gated, no code changes needed) plus actions and filters throughout — for customizing charge arguments, modifying subscription parameters, extending the transactions panel, and hooking into payment events.
What You’ll Need
- WordPress 5.8+
- PHP 7.4+
- Formidable Forms (Free or Pro)
- An active accept.blue merchant account
Where It Fits
This plugin is a natural fit for:
- Membership registration with recurring monthly billing
- Event registration with one-time payment
- Tuition or service payment plans using installments
- Donation forms with optional recurring giving
- Any Formidable workflow needing card collection, subscription management, or deferred capture
Get the Plugin
Stop sending form submitters to a third-party checkout page. With the Formidable accept.blue Payment Gateway, cards, Google Pay, ACH, subscriptions, and installments all run right inside the form your visitors are already filling out.
Formidable × accept.blue
Start accepting cards, wallets, and bank transfers in your Formidable forms today.
Delivered via Patreon. Includes the plugin, license key, and update access.